 |
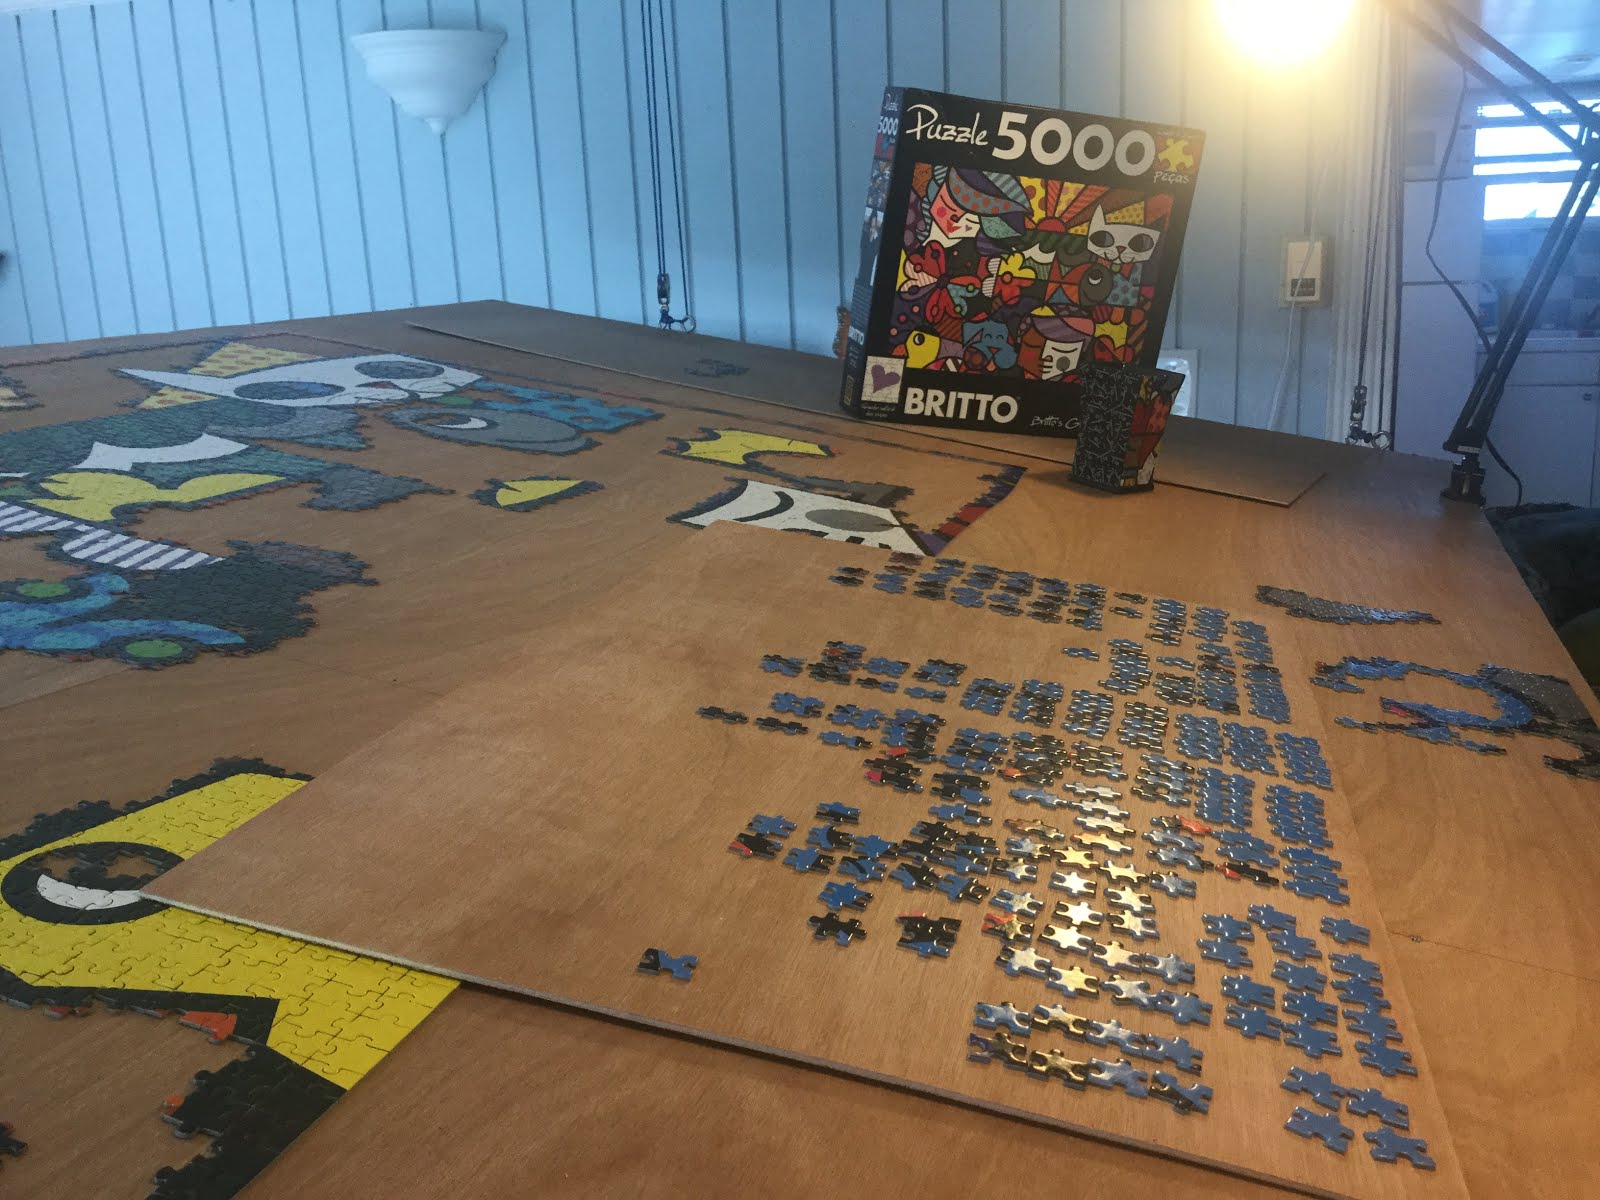
| Britto Mug in its proper place, on the puzzle table! |
Showing posts with label Puzzle Table. Show all posts
Showing posts with label Puzzle Table. Show all posts
Sunday, August 21, 2016
Britto Mug!
Our Britto mugs were broken in shipping years ago. Today at the thrift shop, I found a replacement for 3 bucks! Love building the Britto puzzle while drinking from my Britto mug.
Tuesday, July 30, 2013
Mounting an 8000pc puzzle to the ceiling
 |
| Trionfo degli Asburgo - 8000pc from Educa is mounted to the underside of our retractable puzzle table (Shown here stowed on the ceiling) |
So when it came time to mount this beast there were several hurdles including how to flip it all over, and how to attach it to the table. The best way to explain it is with pictures so here goes.
 |
| Step 1: Break the puzzle back into sections that will fit on our puzzle boards. It just so happens that that size is the same as the die used to cut this puzzle (1000pc). The puzzle breaks neatly into 1000 piece sections. Incidentally, the piece pattern repeats for each section which aids in assembly significantly! |
 |
| Next sandwich each section between two puzzle boards (cardboard). While pinching these together tight, flip them over. If you were ultra worried, you could use masking tape each time to insure the boards don't separate. It's not a terrible idea! These glossy puzzles are slippery! |
 |
| Here it shows the reassemble of the puzzle upside down. Note, it should be obvious, but after you flip a section over, you have to swap places with its neighbor in the same column. |
 |
| Assembling upside down. Notice that the section in the second row right side up is actually the lower section but slide into place where it will go upside down (what was on the bottom has to go to the top) |
 |
| A sea of pieces! |
 |
| I then applied clear contact paper (using help from my neighbor) and rolled the puzzle around a pool noodle (you know, its a 5 dollar pool toy to float on). This made removing the puzzle from the table easy to do without messing it up. |
 |
| We then flipped the table upside down and rolled the puzzle out onto to the table right side up. I centered the puzzle and placed tape around the border. The tape is to give a guide to make sure we lay the puzzle back down centered and to provide a clean edge for the glue. |
 |
| Now we rolled the puzzle back so that half the area was exposed. Notice the much larger diameter roll. Dont try and make a tight roll, the pieces can't flex with that contact paper on the back like the can the other way! |
 |
| We used plain old puzzle glue. This particular glue is from Mega Puzzles. We have been using spray adhesive (3M #44) as suggested by Scott Slater but we have found that the glue never really sets up and have had several puzzles peel away from their foam backing. Since this puzzle is going to hang upside down on the ceiling, I really did not want that to happen. I did a test glue of a piece of contact paper to the wood using the puzzle glue and it worked fantastic! We are going to switch to plain old glue from now on (NOTE: We dont apply glue to the front of the puzzle, we use contact paper on the back to keep the pieces together, the glue is to hold the contact paper to its mounting only). We prefer this method because if you ever did want to disassemble the puzzle, you can remove it from the contact paper and this puzzle glue will break away from whatever you have glued it to. Since we plan on moving someday, this is a real consideration. Regardless, this glue appears to be the trick versus spray. I used a squeegee to spread the glue around. |
 |
| Finished product! It was a lot easier than I thought it was going to be! |
Thursday, July 11, 2013
Life: Day 21
I thought I would show a video of our puzzle table after 21 days of life. We are almost done with the first section. Hopefully I can finish it up tonight! Last night I didn't do much. I ended up playing backgammon with a friend and losing something like 10 straight games. He is really good and I thought I knew how to play! I love being schooled!
Tuesday, July 9, 2013
Let There Be Light
After a few days with the puzzle table, I realized something had to be done about the lighting situation. I thought about this for a while and realized a task light was the right choice! We would some lights from Office max for $18 each that fit the bill perfectly! They clamp on and can be moved and removed easily (as to be stored with the table and position where needed). The move about etc and the price was right.
Without hesitating, I went over to picked them up! We know have great lighting, the only thing i would do different is add two more! I might also put some blocks of hard wood in the table and drill holes for the lamp so that we dont have to mess with clamps and just slide the light where we want it.
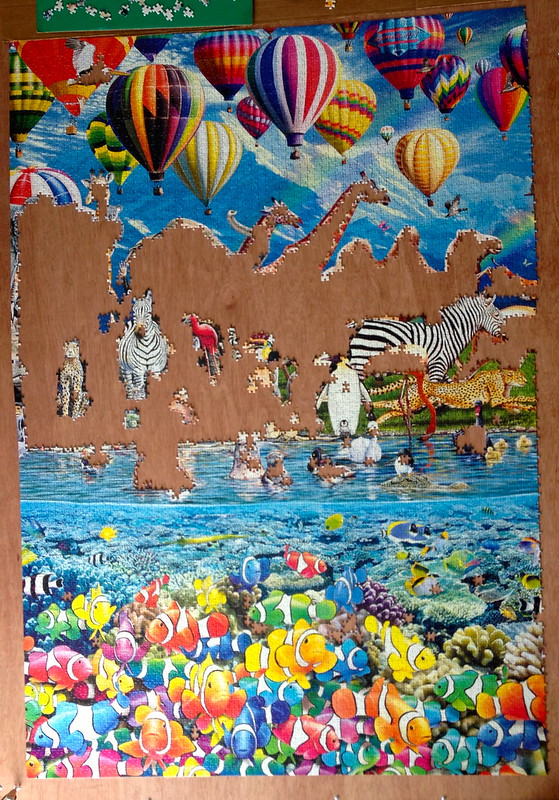
Last night we tackled Life for a long time. I had hoped to finish it last night, but Life threw up some resistance to being assembled! The last section of sky did not go much faster. For some reason, it was really hard. M struggled with the Zebras for some time too. She finally got them completed and picked off the
Today, I am going to tackle it again. I am going to take the long hanging fruit of the giraffes and camel and then I will look carefully at what is left and make a decision then.
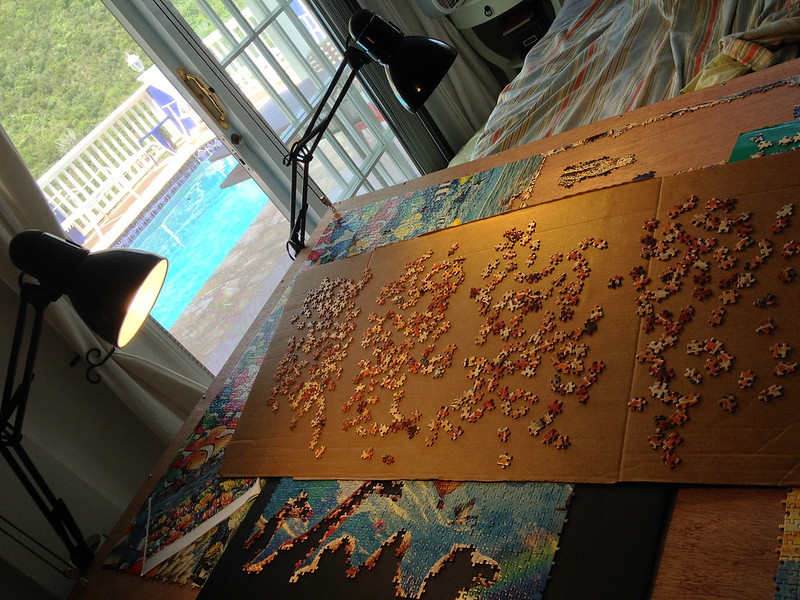 |
| Our upgraded puzzle table with dual lighting! |
 |
| 19 Days of Life |
Saturday, July 6, 2013
Puzzle Table - Thoughts and improvements
 |
| Our retractable puzzle table has been improved. As you can see, even fully loaded, its stiff as a board! |
So after living with the new retractable puzzle table for a few days, I decided I could not live with the bowing center of the table any more. It turns out the PVC board I picked, was exactly the wrong choice. It does not offer the required stiffness for this project. I was originally thinking the problem lie with the table top material. I had considered going to a 3/4inch version of this to stiffen things up, but after thinking about it for a while longer, I decided the best upgrade would be replacing the supports with stiffer ones.
I opted for poplar (versus oak to save weight and money). It was a quick 30 minute job to replace the supports and am now proud to say, there isn't an inch of arch in the fully loaded table (with about 15lbs of puzzles and sorting boards etc on it)
It turns out however, this is still rather heavy to pull up and down on the system. My next upgrade is going to be adding purchase to the rope system. Currently the system is 1:1. Meaning we are not getting any mechanical assistance. The rope is attached to the table, goes over a pulley in the ceiling and then comes back down.
I also changed to a 2:1 system. To do this, I needed a second set of pulleys and longer rope. I installed them as shown in the illustration below. This will make the table twice as easy to get up and down! If I am feeling really fancy, I will get some high tech rope that does not stretch so when you lean on the table it does not give and fancy sailing blocks for xmas or something.
Someday, I will make this so that the entire table is flush with the ceiling and is remote controlled with special lighting!
.jpg) |
| The 2:1 pulley system upgrade for our retractable puzzle table. |
Thursday, July 4, 2013
The Retractable Puzzle Table and Machu Picchu is Kicking Our Ass
 |
| Our new puzzle table is large enough for pretty much any puzzle we can throw at it. Here is the section of life we are working on all laid out for the first time. As you can see, M is starting on the animals. |
Anyhow, the puzzle table is up and working. We may redo the top cause its not as sturdy as we were hoping for (flexes too much). We tried to make it as light as possible and still be strong.
In summary, we started with 1/8inch plywood (the same stuff our puzzle boards are made of) 84in x 48in and screwed in a frame of synthetic wood (1x2in). In the ceiling we found studs and inserted 4 hooks and hung 4 pulleys from them.
We drilled holes in the table, then lead ropes from each corner of the table, to their respective pulleys and led all the ropes through an eye hook (also in a stud) and down to a cleat (think sailboat).
The result is a table we can raise to the ceiling when not in use! We are so happy with it. We can puzzle in bed, work together facing each other and raise one side for seriously comfortable extended sessions!
In other news, we started on the mini 500 piece Machu Picchu and it just pegged our difficulty scale! This little 5 dollar puzzle will kick your ass! I had an entire section in the wrong place and I have never had to back track so many times while doing the cloud filled sky. Just assembling the border would send most people crying for their mother! If you are looking for a challenge, go for it!
Enjoy the pics and video!
 |
| Machu Picchu mini 500 puzzle piece shown with a piece of Life... It's a lot smaller! |
 |
| I seriously almost gave up on this puzzle. It is so hard. Here you can see its no bigger than a sheet of paper! M did the border and the lower parts while I did the sky. Did I mention this puzzle is hard? |
 |
| First thing is first, where the F is the stud... It is NOT where it should be. |
 |
| Screwing the frame to the top |
 |
| We put four hooks in the ceiling with pulleys. |
 |
| You can see the frame, very simple. We are going to redo this with stronger wood eventually. We tried to make it as light as possible but turns out it warps too much. Once we get the final table, we will glue a completed puzzle to the bottom so when its up, we can see a puzzle! |
 |
| After hooking up the lines to the end, we ran all the lines to the eye and down to a cleat. |
 |
| We feed each line through a hole in the top and tied a double figure eight stopper knot to keep it from coming back through. |
 |
| My amazing wife with our shiny new puzzle table in place! We can now puzzle and have sex in bed! |
 |
| M is actually in the table. No, ok, just kidding. This is how its stored when we don't want to puzzle (which is not often) |
 |
| This is my favorite part! Since each corner is on it's own rope, you can angle the table for serious puzzling! It feels so good to sit here! |
 |
| So Yeah.... lets hope my drywall skills are as good as my puzzling. Seriously WTF is the stud? |
Sunday, May 26, 2013
The new Puzzle House
 |
| Puzzling with a view! |
 |
| This is where all the sex happens (ok, well most of it) |
 |
| See this big wall on the left edge, it will hold two 9000 piece puzzles! |
 |
| Yeah, its gonna be floor to ceiling puzzles! |
 |
| Since you cant ALWAYS puzzle, its nice to have a place to entertain and swim! |
 |
| I love rolling out of bed and into the pool! |
UPDATE: We are going to build a puzzle table that comes down from the ceiling! More to come!
Friday, April 19, 2013
Puzzle Table
So we have decided we really need a large puzzle surface. Our large puzzles basically are 5K puzzles at a time which command a lot of working space. We have identified a space on our verandah (outside patio) that fits the mark. Our landlord Paul and I started construction last night. The table is going to be 43 inches by 8 feet long at a height of 29.5 inches with a flat black surface.
 |
| The puzzle table being constructed |
 |
| Table finished and fitting the last few pieces of Cocktails |
Subscribe to:
Posts
(
Atom
)
