 |
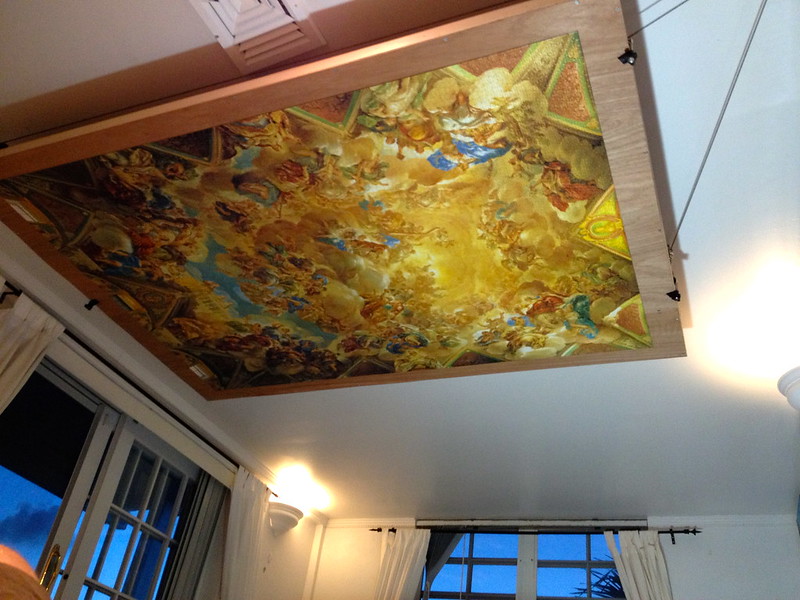
| Trionfo degli Asburgo - 8000pc from Educa is mounted to the underside of our retractable puzzle table (Shown here stowed on the ceiling) |
So when it came time to mount this beast there were several hurdles including how to flip it all over, and how to attach it to the table. The best way to explain it is with pictures so here goes.
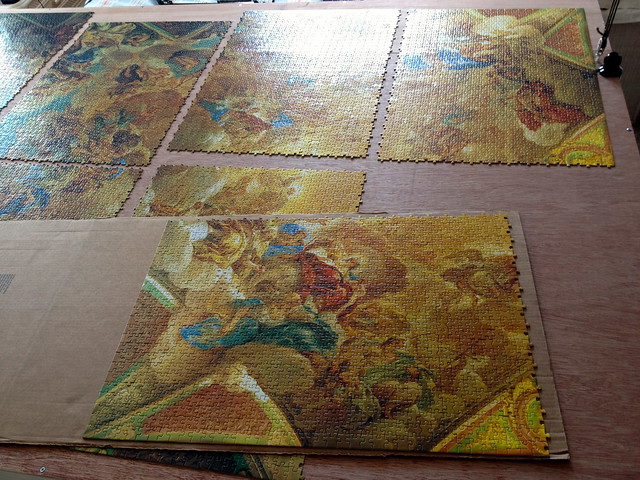 |
| Step 1: Break the puzzle back into sections that will fit on our puzzle boards. It just so happens that that size is the same as the die used to cut this puzzle (1000pc). The puzzle breaks neatly into 1000 piece sections. Incidentally, the piece pattern repeats for each section which aids in assembly significantly! |
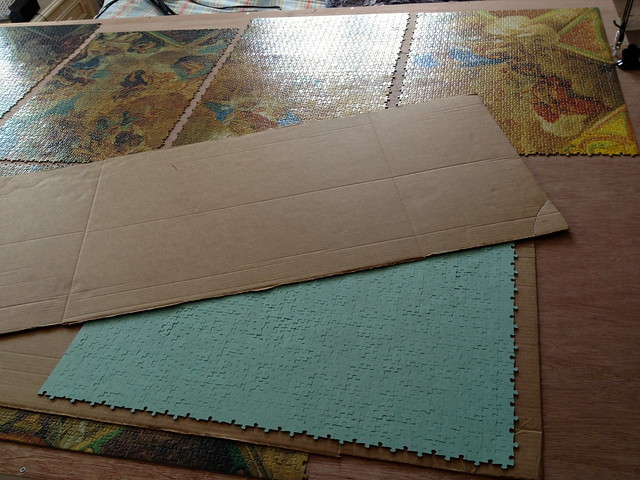 |
| Next sandwich each section between two puzzle boards (cardboard). While pinching these together tight, flip them over. If you were ultra worried, you could use masking tape each time to insure the boards don't separate. It's not a terrible idea! These glossy puzzles are slippery! |
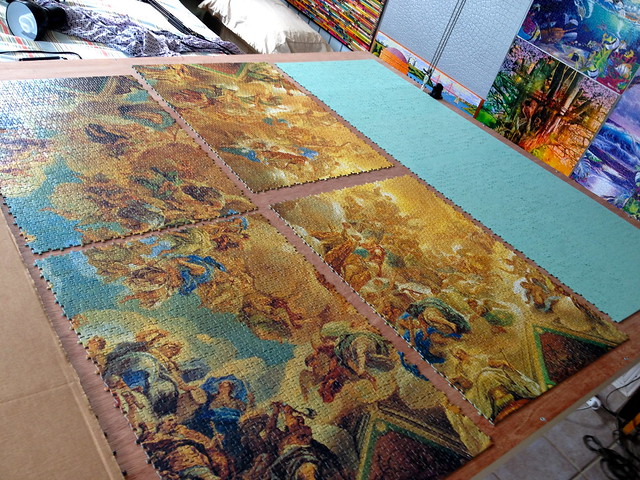 |
| Here it shows the reassemble of the puzzle upside down. Note, it should be obvious, but after you flip a section over, you have to swap places with its neighbor in the same column. |
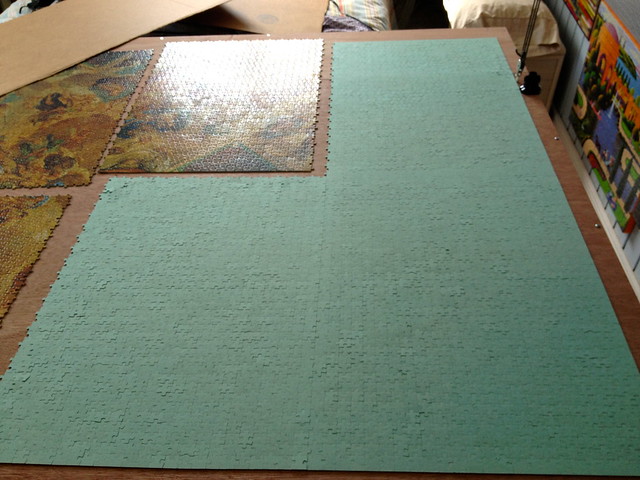 |
| Assembling upside down. Notice that the section in the second row right side up is actually the lower section but slide into place where it will go upside down (what was on the bottom has to go to the top) |
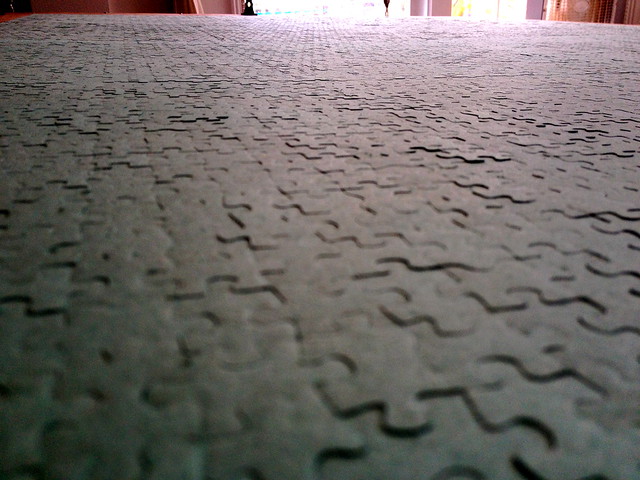 |
| A sea of pieces! |
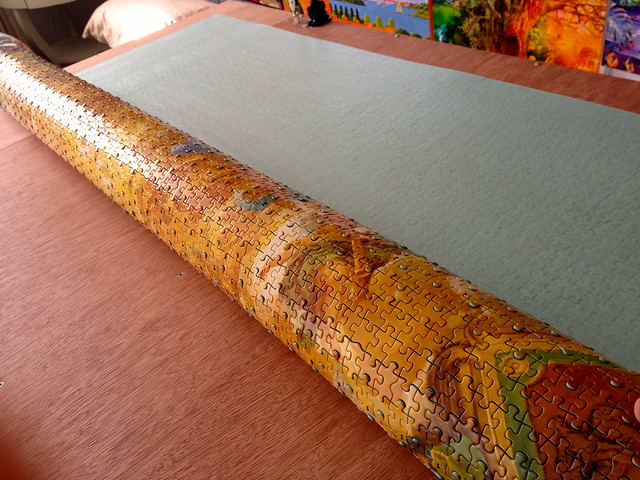 |
| I then applied clear contact paper (using help from my neighbor) and rolled the puzzle around a pool noodle (you know, its a 5 dollar pool toy to float on). This made removing the puzzle from the table easy to do without messing it up. |
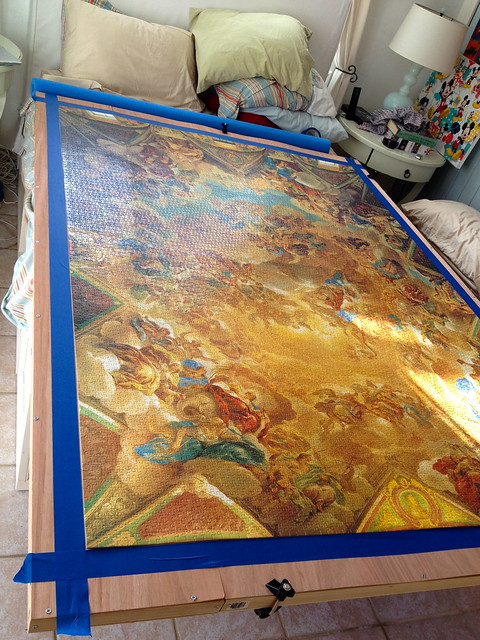 |
| We then flipped the table upside down and rolled the puzzle out onto to the table right side up. I centered the puzzle and placed tape around the border. The tape is to give a guide to make sure we lay the puzzle back down centered and to provide a clean edge for the glue. |
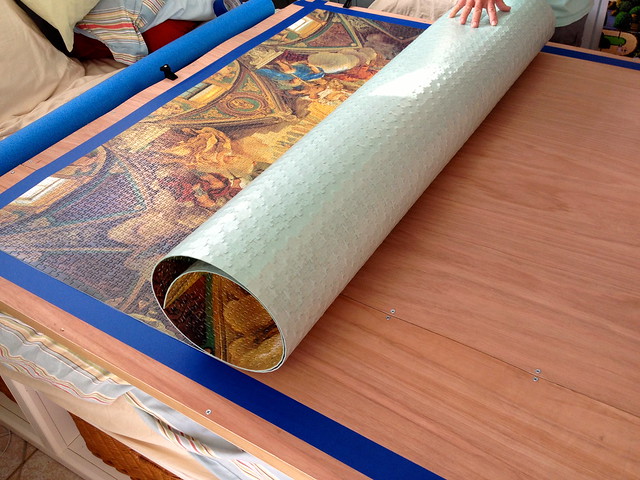 |
| Now we rolled the puzzle back so that half the area was exposed. Notice the much larger diameter roll. Dont try and make a tight roll, the pieces can't flex with that contact paper on the back like the can the other way! |
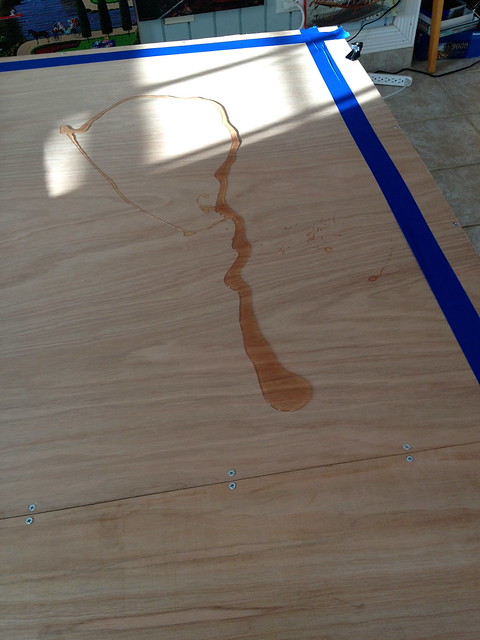 |
| We used plain old puzzle glue. This particular glue is from Mega Puzzles. We have been using spray adhesive (3M #44) as suggested by Scott Slater but we have found that the glue never really sets up and have had several puzzles peel away from their foam backing. Since this puzzle is going to hang upside down on the ceiling, I really did not want that to happen. I did a test glue of a piece of contact paper to the wood using the puzzle glue and it worked fantastic! We are going to switch to plain old glue from now on (NOTE: We dont apply glue to the front of the puzzle, we use contact paper on the back to keep the pieces together, the glue is to hold the contact paper to its mounting only). We prefer this method because if you ever did want to disassemble the puzzle, you can remove it from the contact paper and this puzzle glue will break away from whatever you have glued it to. Since we plan on moving someday, this is a real consideration. Regardless, this glue appears to be the trick versus spray. I used a squeegee to spread the glue around. |
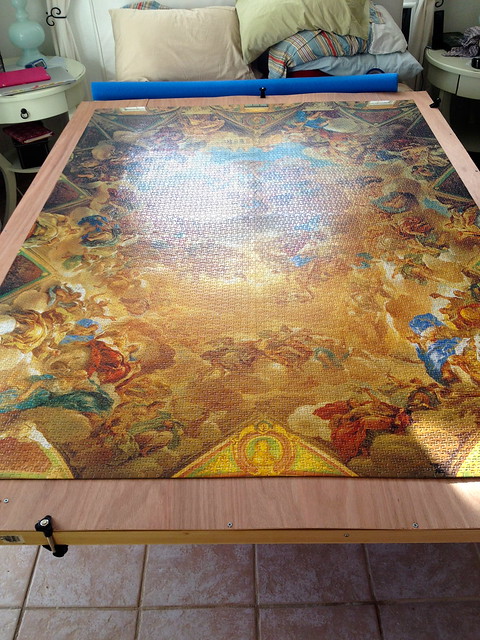 |
| Finished product! It was a lot easier than I thought it was going to be! |


No wait... you can't just slip in the words "retractable puzzle table" and not link to its design! I've contemplated making one myself so would be interested in how you made it stiff enough not to bow under its own weight!
ReplyDelete